Cabinet refinishing: what to expect from prep to the final coat
By Dana Whitfield · Updated 2026-06-29
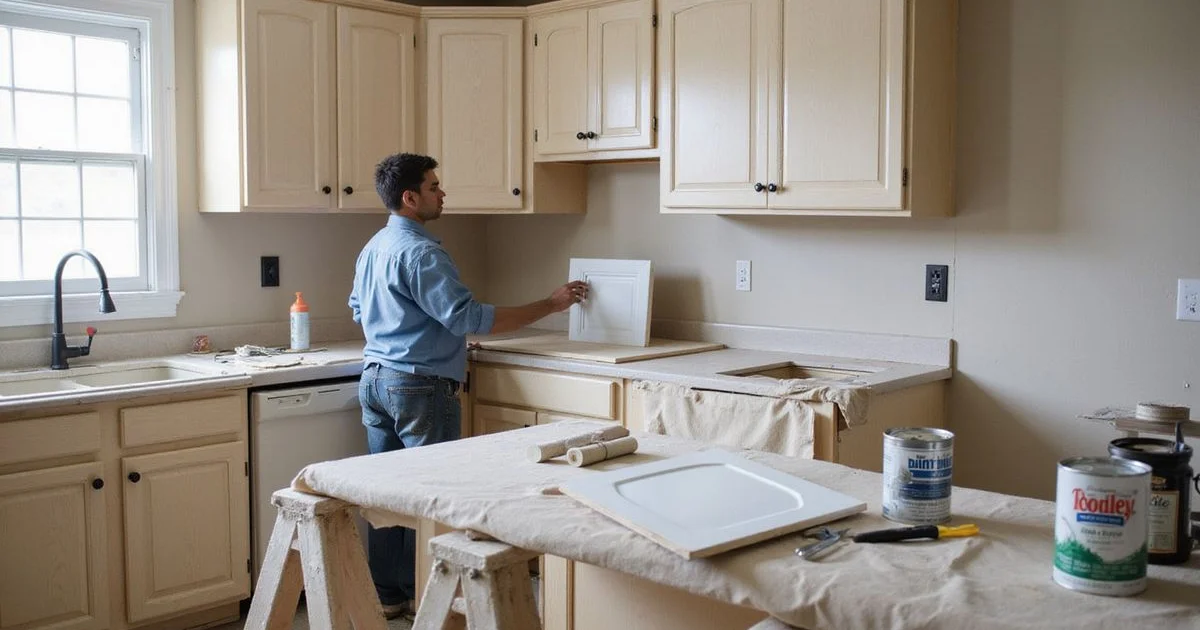
Cabinet refinishing has a wide range of outcomes, from a flawless factory-style finish to a job with visible brush marks and uneven color. The difference almost always comes down to process: how much time goes into prep, and whether the finish is sprayed or hand-applied. Here is what a proper job looks like from start to finish.
Before any paint goes on
A refinishing job that skips prep is the most common reason results look amateur. A careful crew in the cabinet refinishing category typically works through these steps first:
- Removing doors, drawers, and hardware, labeling each one so it goes back exactly where it came from.
- Cleaning and degreasing every surface, since kitchen cabinets accumulate cooking grease that stops new finish from bonding properly, even if the surface looks clean.
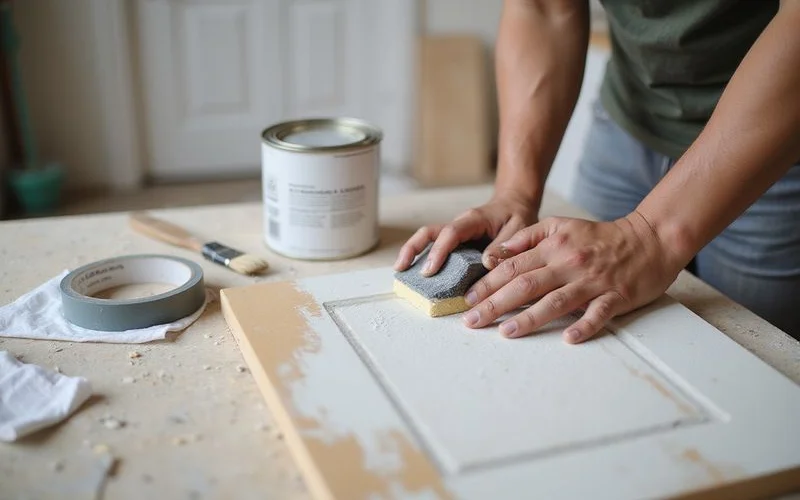
- Sanding or deglossing the existing finish so paint or stain has something to grip. Skipping this step is the single biggest cause of finish that peels or chips within a year.
- Filling and repairing any dents, dings, or gaps around hardware holes if hardware is being changed.
- Priming with a bonding primer coat suited to the cabinet material, especially important over factory-finished wood, laminate, or thermofoil.
The finishing steps
Once prep is done, the actual finishing follows a fairly consistent order regardless of finish type:
- First coat. Applied and left to dry fully before any sanding between coats.
- Light sanding between coats. This knocks down any dust nibs or brush texture and helps each layer bond to the last.
- Additional coats, usually two to three total for paint, more for a stain-and-clear-coat combination.
- Final clear coat, if used, to protect the finish from daily wear, water splashes near the sink, and cleaning products.
- Reassembly, rehanging doors and drawers and reinstalling or upgrading hardware.
Sprayed versus brushed finishes
| Method | Typical finish quality | Where it happens |
|---|---|---|
| Sprayed (shop or job-site spray booth) | Smooth, factory-like, minimal brush texture | Often off-site or in a ventilated spray area |
| Brushed or rolled on-site | Good with a skilled painter, but more visible texture up close | Directly in your kitchen |
Sprayed finishes generally look closer to new cabinetry, since an airless sprayer lays down an even mist rather than brush strokes. That quality comes with a tradeoff: sprayed jobs often mean your doors travel to a shop and are away from your home for part of the process, which extends the timeline compared to an on-site brushed job.
What to check before you sign off
Run your hand along a finished door in good light and check for smooth, even texture without drips, brush marks, or thin spots where the old color shows through. Hinges and hardware should sit flush and operate smoothly. If a finish looks streaky or the color varies noticeably between doors, that usually points to inconsistent coat counts or drying times, worth raising before the crew packs up.
The same vetting that applies to hiring any painter applies here too. The red flags and questions to ask before you hire a painter guide covers what to confirm before a refinishing crew starts pulling doors off your cabinets.
Living in your kitchen during the project
Because doors and drawer fronts spend much of the process off the hinges, plan for a stretch of days where cabinets sit open or covered with painter’s plastic. Setting up a temporary spot elsewhere in the house for dishes and small appliances you use daily makes those days more manageable. Ask your installer for a rough day-by-day plan so you know which days involve the most disruption, like the day doors come off, versus quieter days when finish is simply drying.
Refinishing versus a full repaint of the room
Cabinet refinishing is a focused job, and it is worth thinking about whether it fits with the rest of the kitchen. If walls or trim also need painting, doing both around the same time can mean shared setup and less disruption overall compared to two separate projects months apart, though it does mean a longer stretch of the kitchen being partly out of commission at once. A painter who handles both cabinet refinishing and general interior work can usually advise on the most efficient order to tackle each piece.
For more on how cabinet refinishing painters are rated in this directory, see the methodology page, or visit the homepage to browse current listings.
Common questions
- How long does cabinet refinishing take?
- For an average kitchen with 25 to 30 doors and drawers, most crews need three to five days, including drying time between coats. Sprayed finishes usually need an off-site shop and add a day or two for transport.
- Do I need to empty my kitchen cabinets during refinishing?
- You do not need to empty every cabinet box, since only the doors, drawer fronts, and exposed frames are refinished. It helps to clear countertops near the work area and keep pets out of the kitchen while doors are off their hinges.
- Can I still use my kitchen while cabinets are being refinished?
- Partially. Doors and drawer fronts are typically removed and finished elsewhere in the house or in a shop, so you can usually still access the inside of cabinets, just without doors, for a few days.
- What is the difference between refinishing and refacing cabinets?
- Refinishing strips, repairs, and repaints or restains the existing cabinet doors and boxes. Refacing replaces the door and drawer fronts entirely while keeping the existing boxes, which costs more but changes the style more dramatically.